Making a Lego kirby artwork

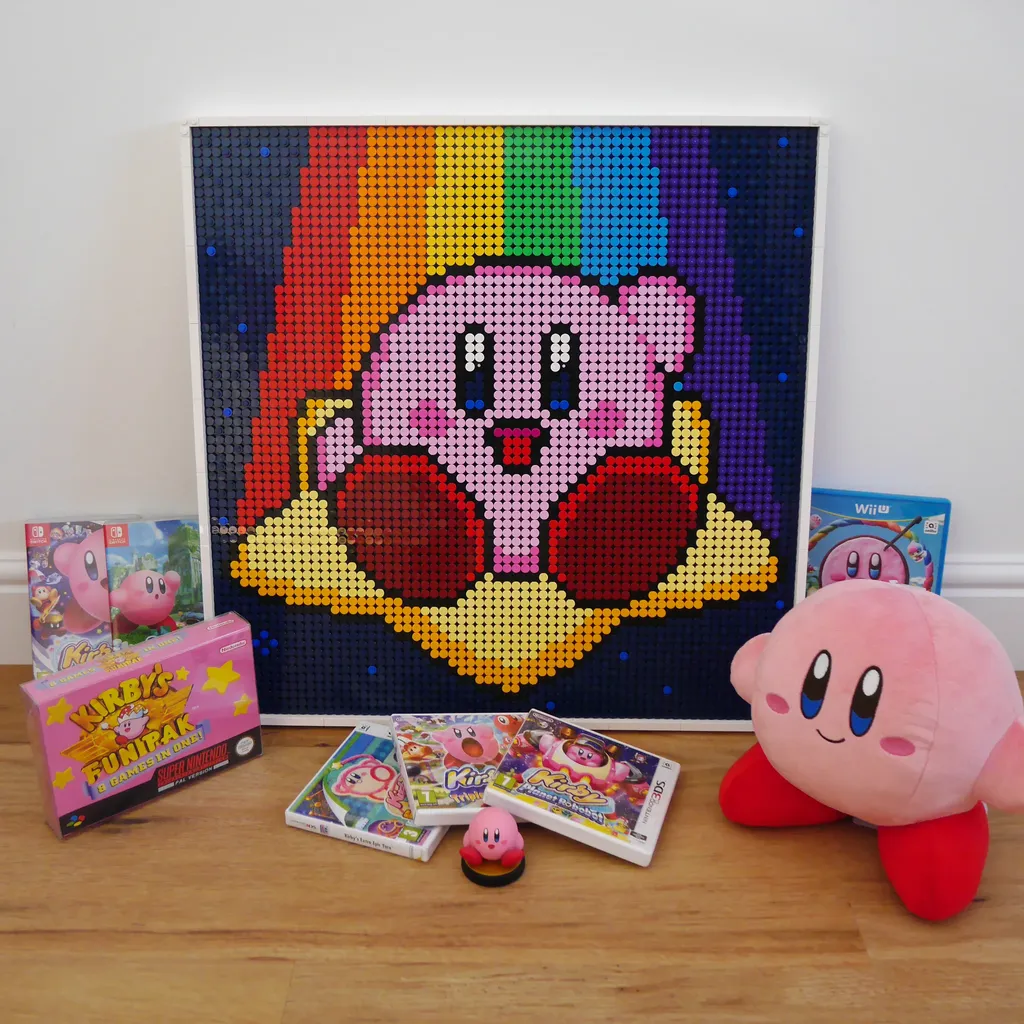
Update: Checkout the photos of my finished creation hanging on the wall.
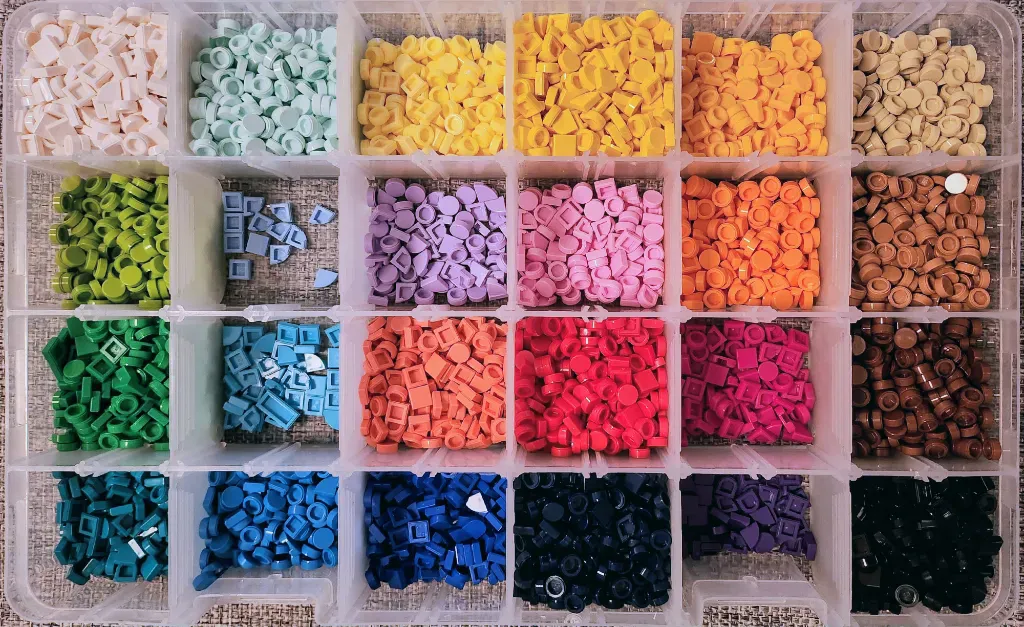
I received a Lego 'Art Project' (set #21226) from an in-law for Christmas. It's a great set that comes with a load of dots and x9 plates (16x16) which combine to make a decent sized 48x48 stud base for an artwork. I skipped the suggested pictures in the instructions and went off-piste with a picture of one of my favourite Nintendo characters, Kirby but toward the end of the build I had ran out of the colours I needed. I considered buying another set so I could double-up but ended up buying the 'Floral Art' (set #31207) as it was cheaper and came with a load of pink dots. I had (wrongly) calculated that the additional x6 plates (16x16) from the floral set would mean I could create one large 64x64 artwork. I had totally done my maths wrong and I was one plate short which I had to order later along with some additional dots!

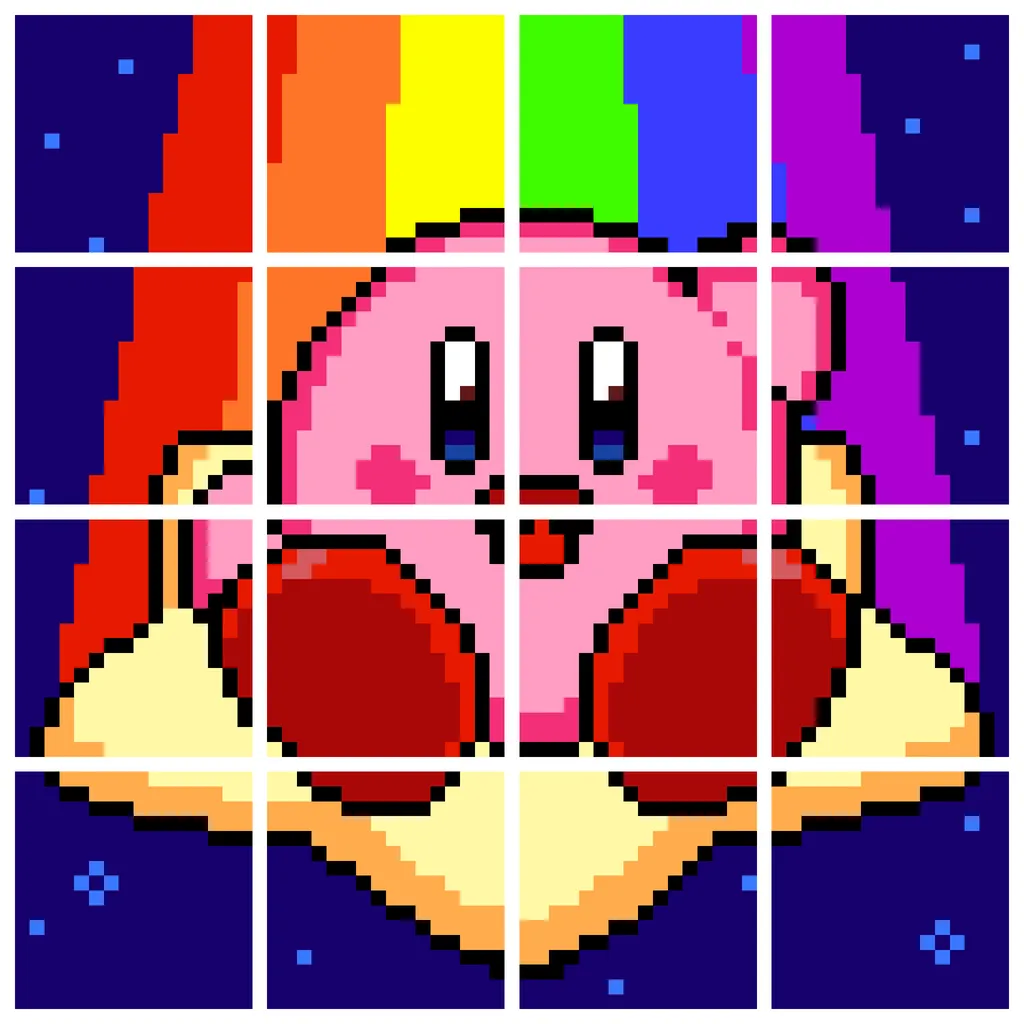
For my 64x64 image I wanted something that was fun and colourful. I played around making pixel art images of Princess Peach and Link from the Legend of Zelda but came around full circle back to Kirby, that cute little pink ball meets my criteria of being very fun and nice and colourful. One of the challenging parts of creating the my image was coming up with something that would (mostly) use the colours and quantities of lego dots that I had. I found a picture created by Kittykun123 on deviant art which I really liked. I reworked the image by adding a rainbow trail, simplifying some of the details and reducing the colour palette (as I was limited to the lego colours). I then pixelated the image and cleaned it up on Aseprite. I hadn't done much pixel art before but I really enjoyed the process! Above you can see the pixel art I came up with, I broke it in x12 16x16 blocks as this would make the tiling easier for me. I had this image open on my tablet as I created the lego picture!.

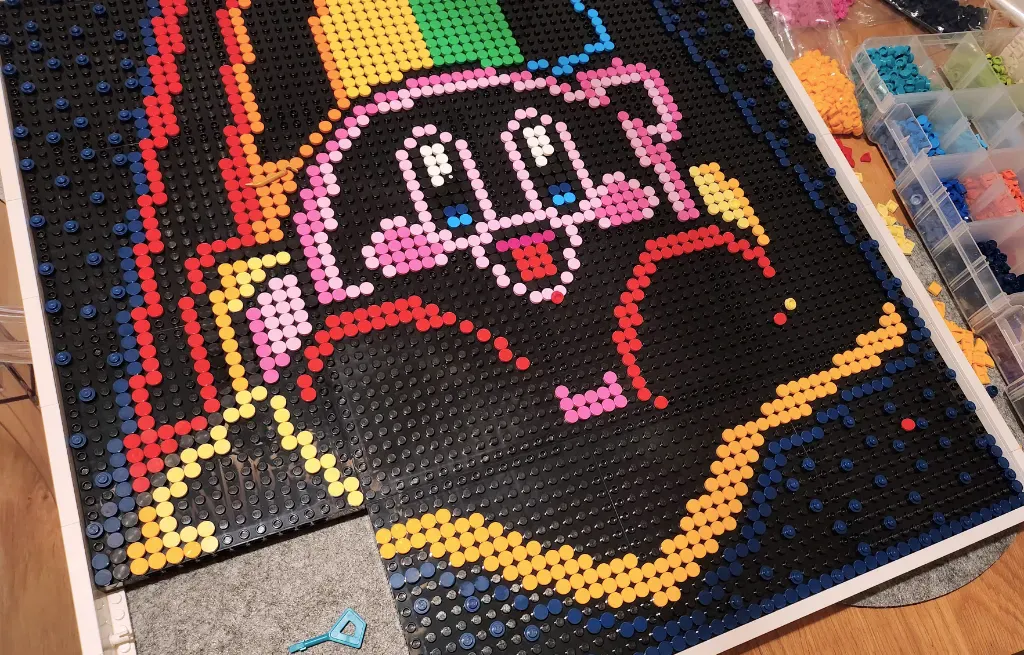
I did the build in two phases as I ran out of the colours I needed. I used an online pixel colour counting service which told me how exactly many of each colour I needed so I put an order in on Bricklink for the remaining colours and the extra 16x16 plate.
I'm really happy with the way this turned out. I can't wait to hang it on the wall (update: see it on my wall). I'm going to keep the picture of Kirby for the forseeable future but I might change it up at some point -it is Lego after all!
